Easter is a time for family traditions. Some can get pretty messy and time consuming (glitter Easter eggs!) and some are pretty simple like these cookies.
Every year my sons ask for this special Easter recipe.. I love this recipe because it can easily be done with ingredients most of us have on hand. A perk right now especially!
I love these cookies because they teach the story of Easter while you’re making the cookies. If you have kids that are very hands on and like to learn with their senses, this recipe is for you!
Below you’ll find the recipe with step-by-step pictures and then a graphic to click on for a printable.
These are technically meringue cookies, so your humidity may affect this recipe. The key is to have a very clean bowl and to let the egg whites whip to the stiff peak stage (pictures below). You also need to let them sit in the oven overnight. I have tried shorter amounts of time, but they didn’t quite set in the middle.
Even though they are meringues, these cookies are very easy. I didn’t even realize they were supposed to be difficult until I took them to a family Easter gathering and everyone was impressed! They disappeared very quickly!
I hope your family enjoys these as much as ours does!
EASTER STORY COOKIES
- 1 c. Whole Pecans
- 1 t. Vinegar
- 3 Egg Whites
- Pinch of Salt
- 1 c. Sugar
- Zipper bag
- Wooden spoon
- Tape
- Bible
Step 1: Preheat oven to 300-325
Step 2: Place pecans in zipper bag—use wooden spoon to break up pecans
- SAY: After Jesus was arrested, he was beaten by the Roman soldiers.
- READ: John 19:1-3
Step 3: Let each child smell the vinegar and add it to the mixing bowl.
- SAY: When Jesus was thirsty on the cross, he was offered vinegar to drink.
- READ: John 19:28-30
Step: 4 Add the egg whites to the vinegar.
- SAY: The eggs represent life, and Jesus gave his life to give us life.
- READ: John 10:10-11
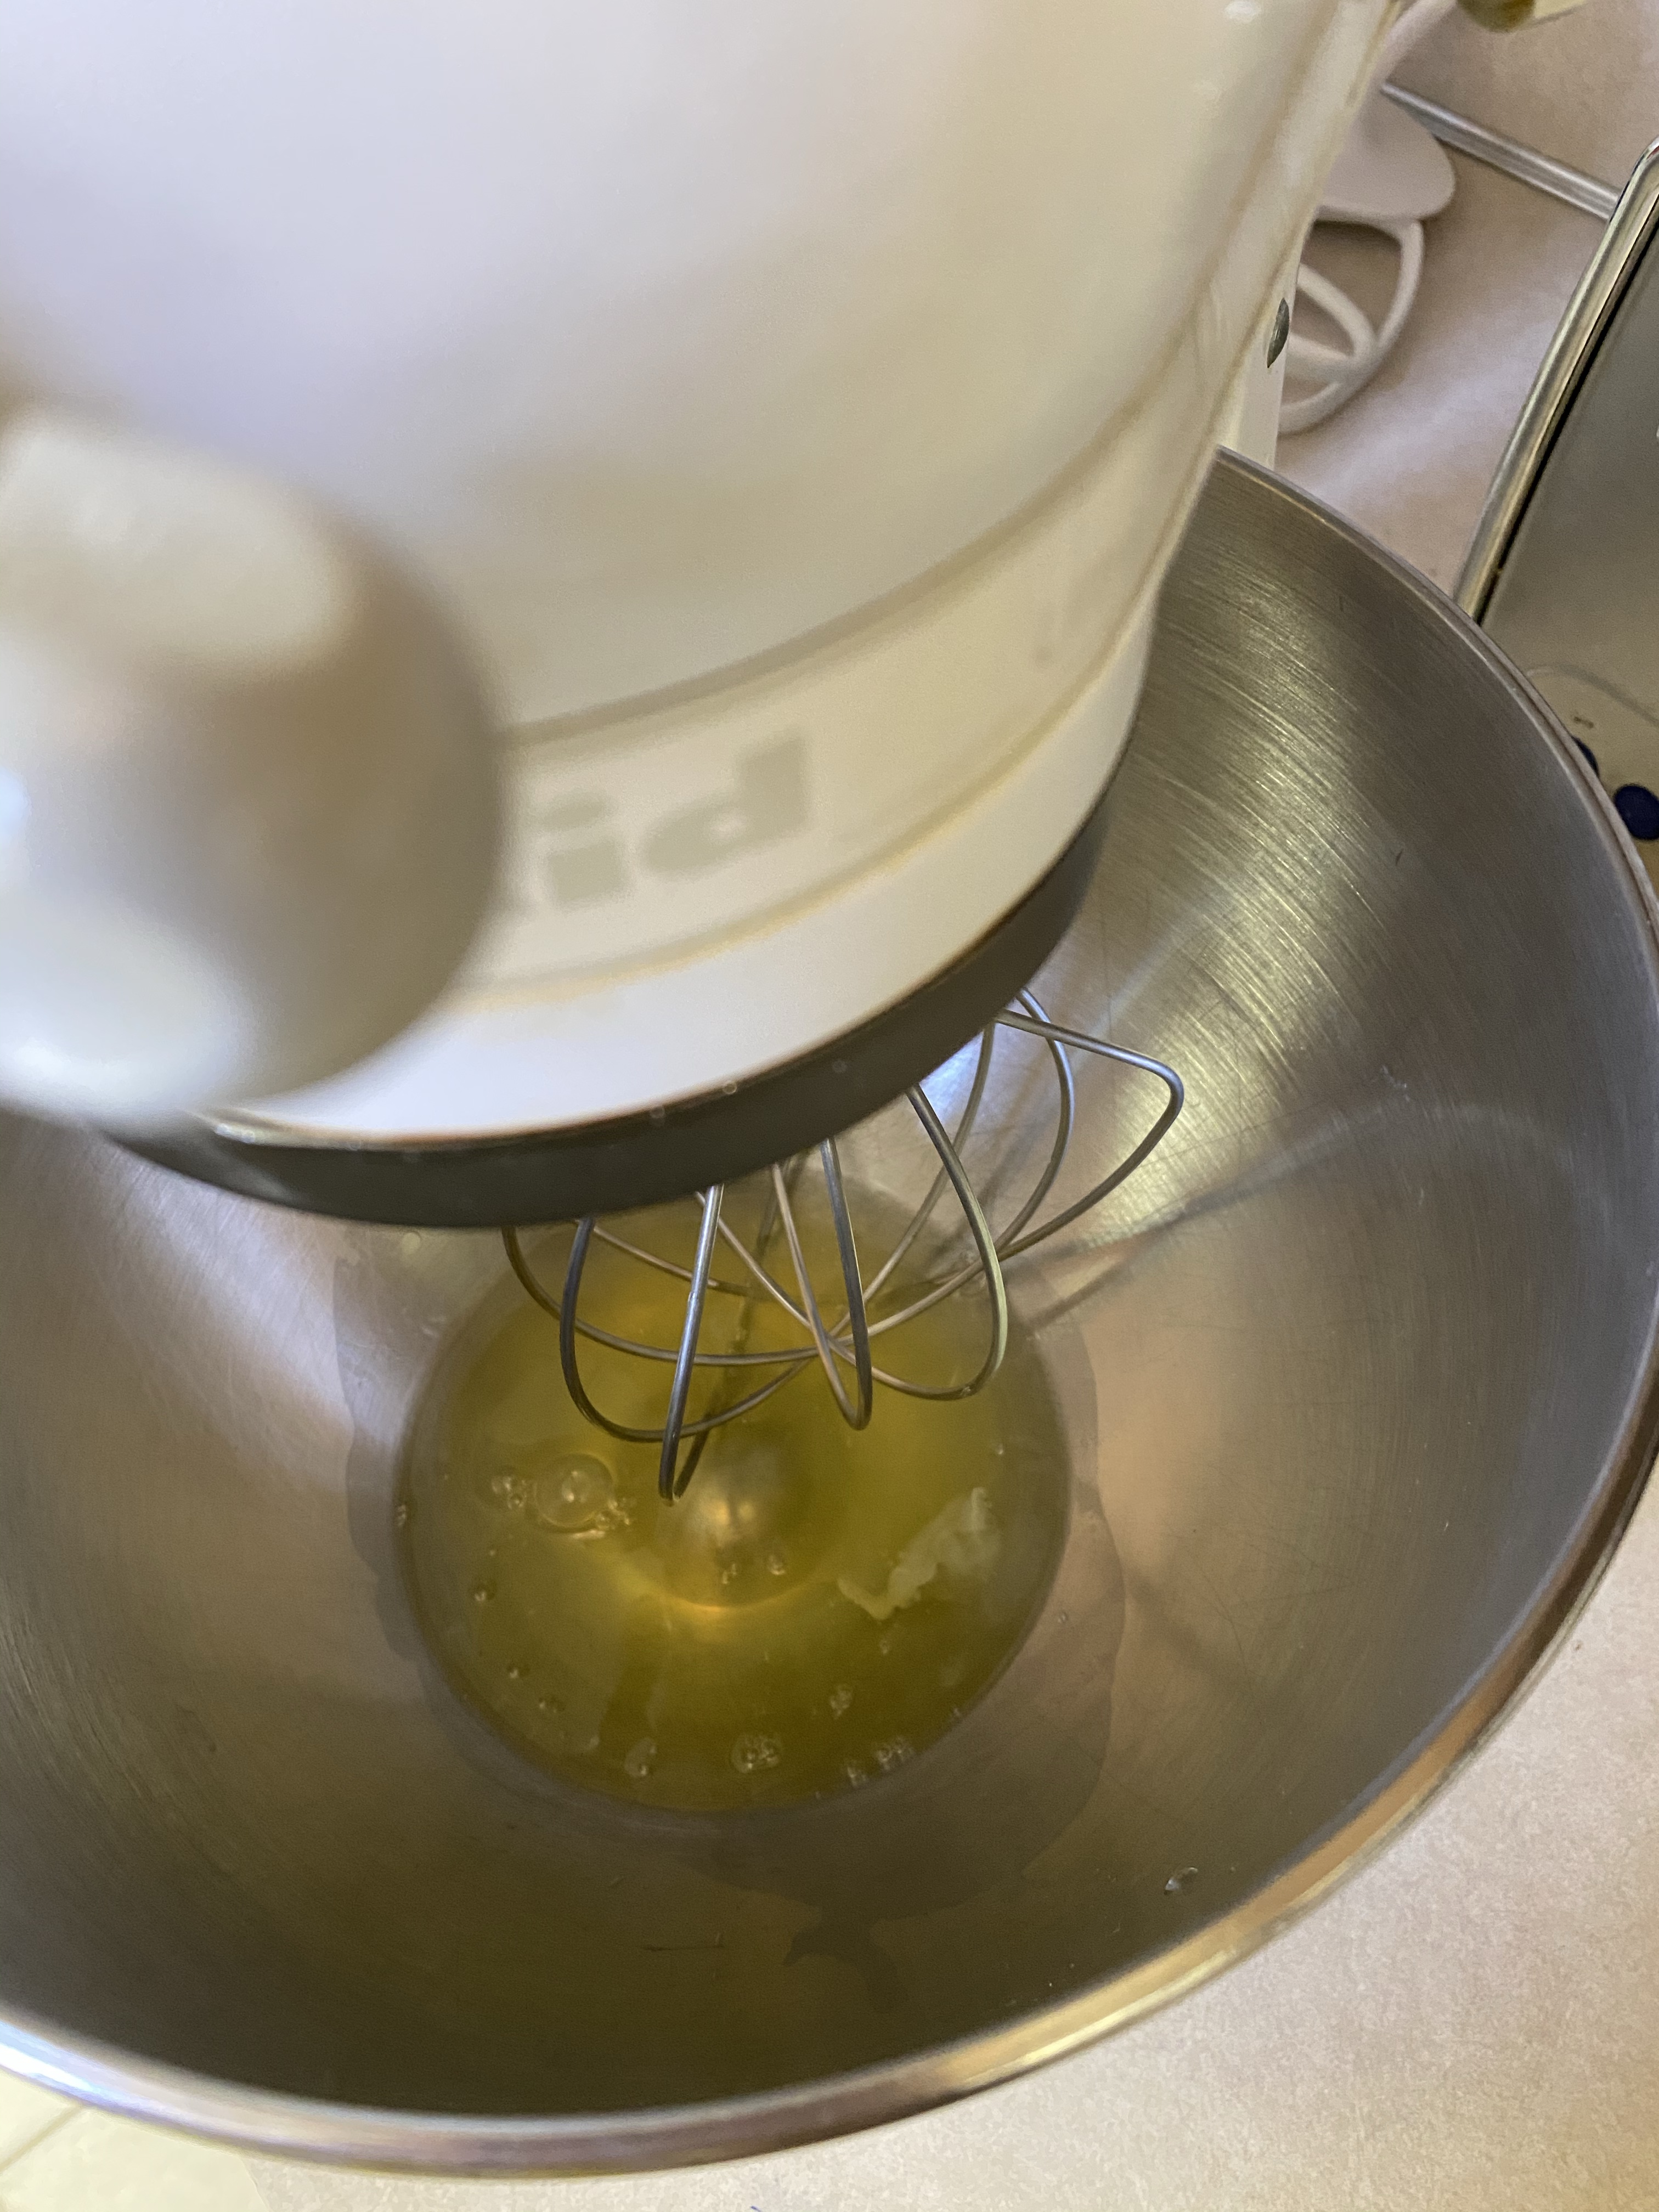
Step 5: Sprinkle a little salt into each child’s hand, and let them taste it. Then brush some into the bowl.
- SAY: The salt represents the salty tears by Jesus’ followers and the bitterness of our own sin.
- READ: Luke 23:27
- SAY: So far the ingredients don’t look like they taste very good, do they?
Step 6: Add the sugar
- SAY: The sweetest part of the story is that Jesus died because he loves us. He wants us to know and belong to him.
- READ: Psalms 34:8 and John 3:16
Step 7: Beat with a mixer on high speed 12-15 min.until stiff peaks are formed. (Stiff peaks = mixture is white, and when you pull up the beater, peaks are formed and the tops don’t fall over.)
- SAY: The color white represents the purity we have in God’s eyes when our sins are cleansed by Jesus.
- READ: Isaiah 1:18 and John 3:1-3
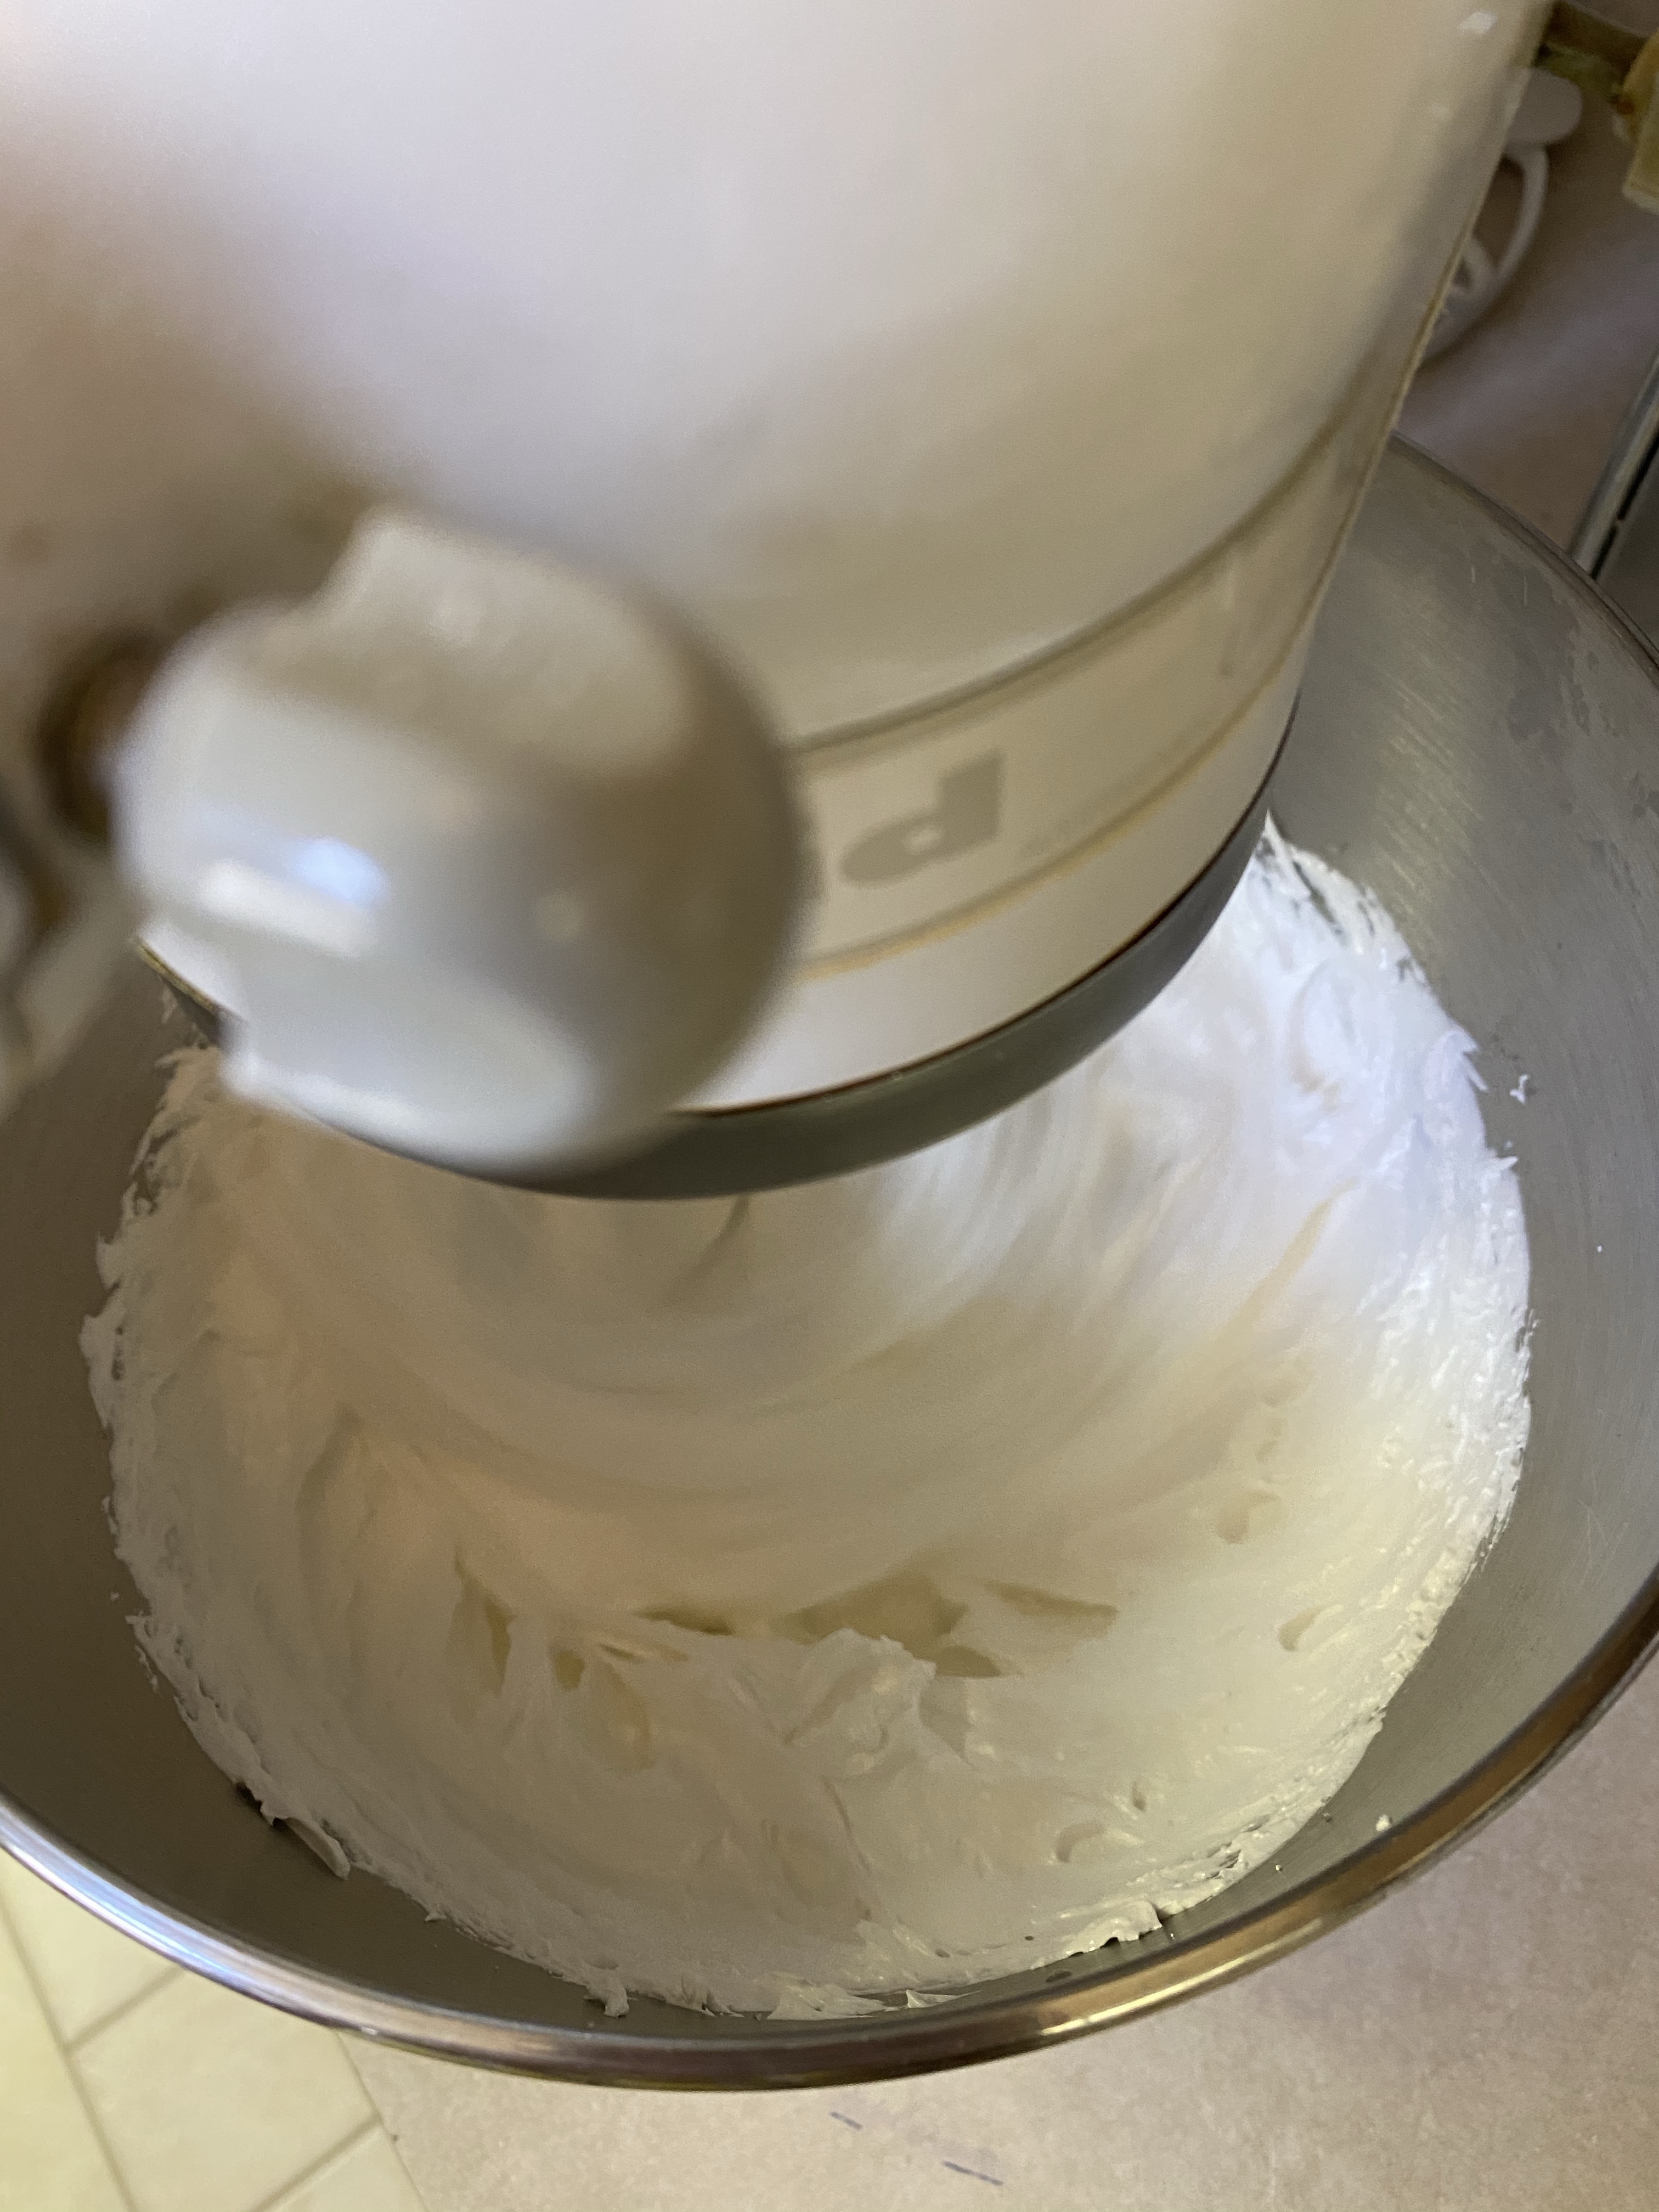
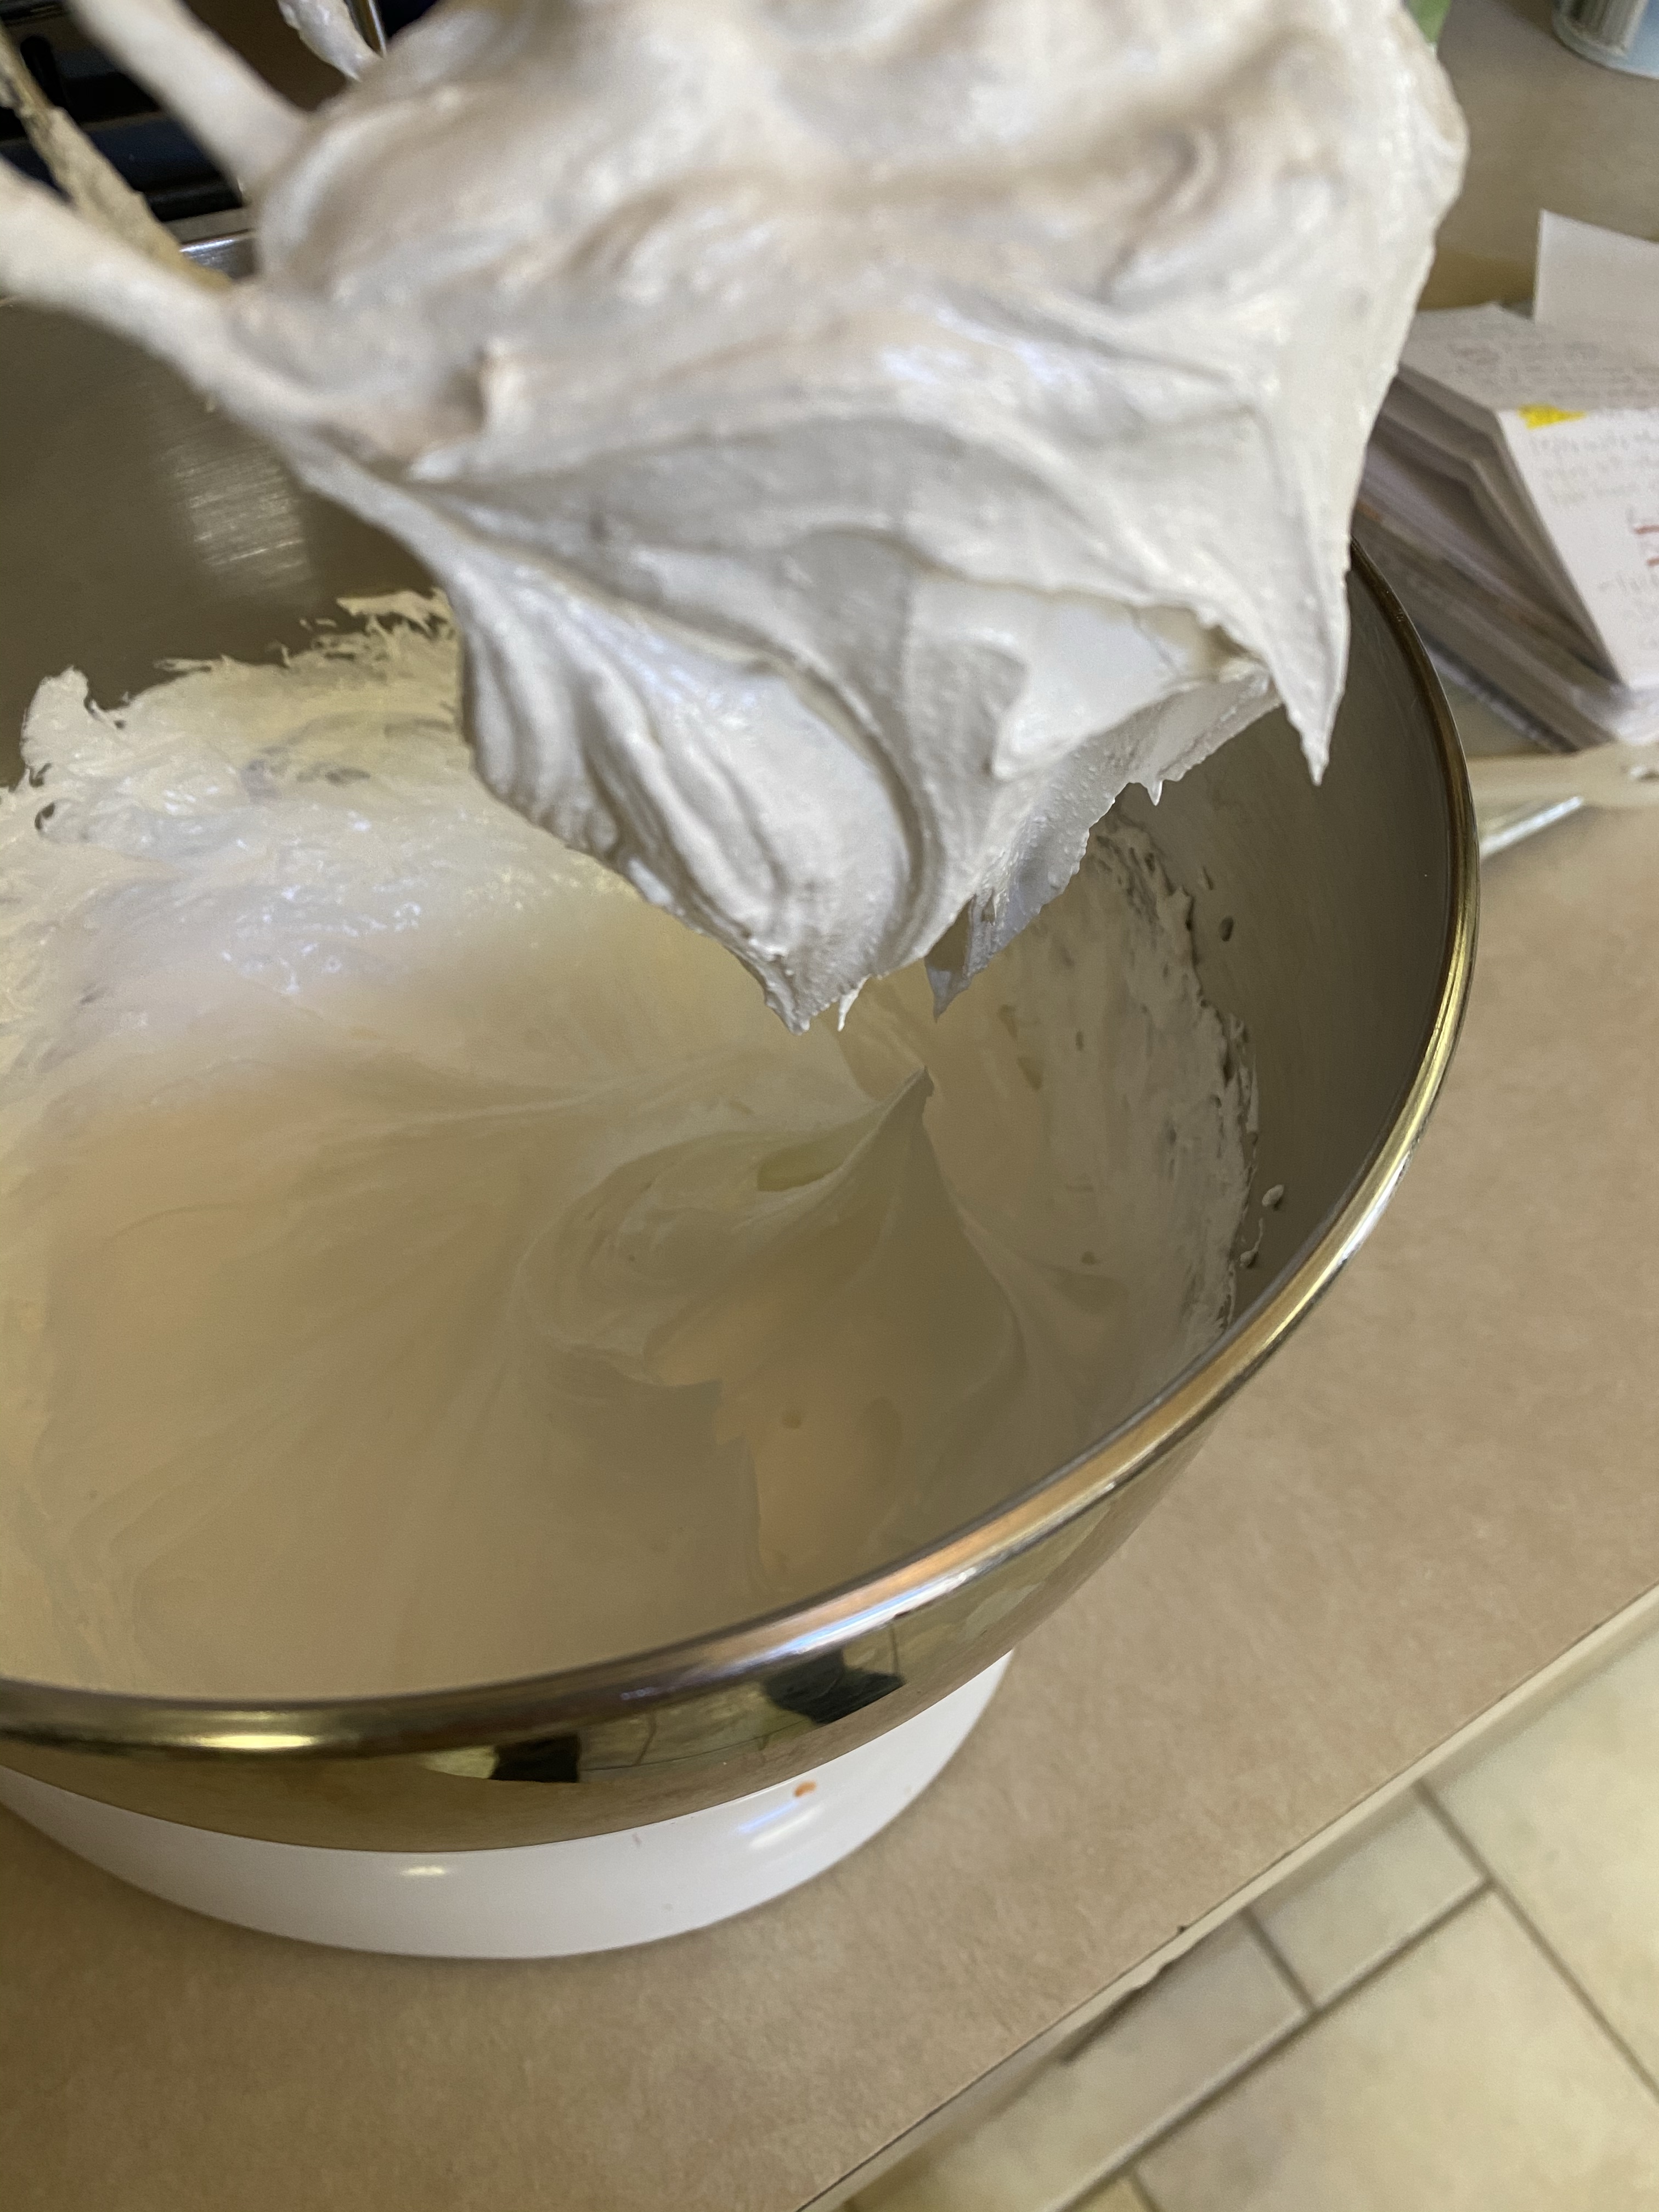
Step 8: Fold in broken nuts
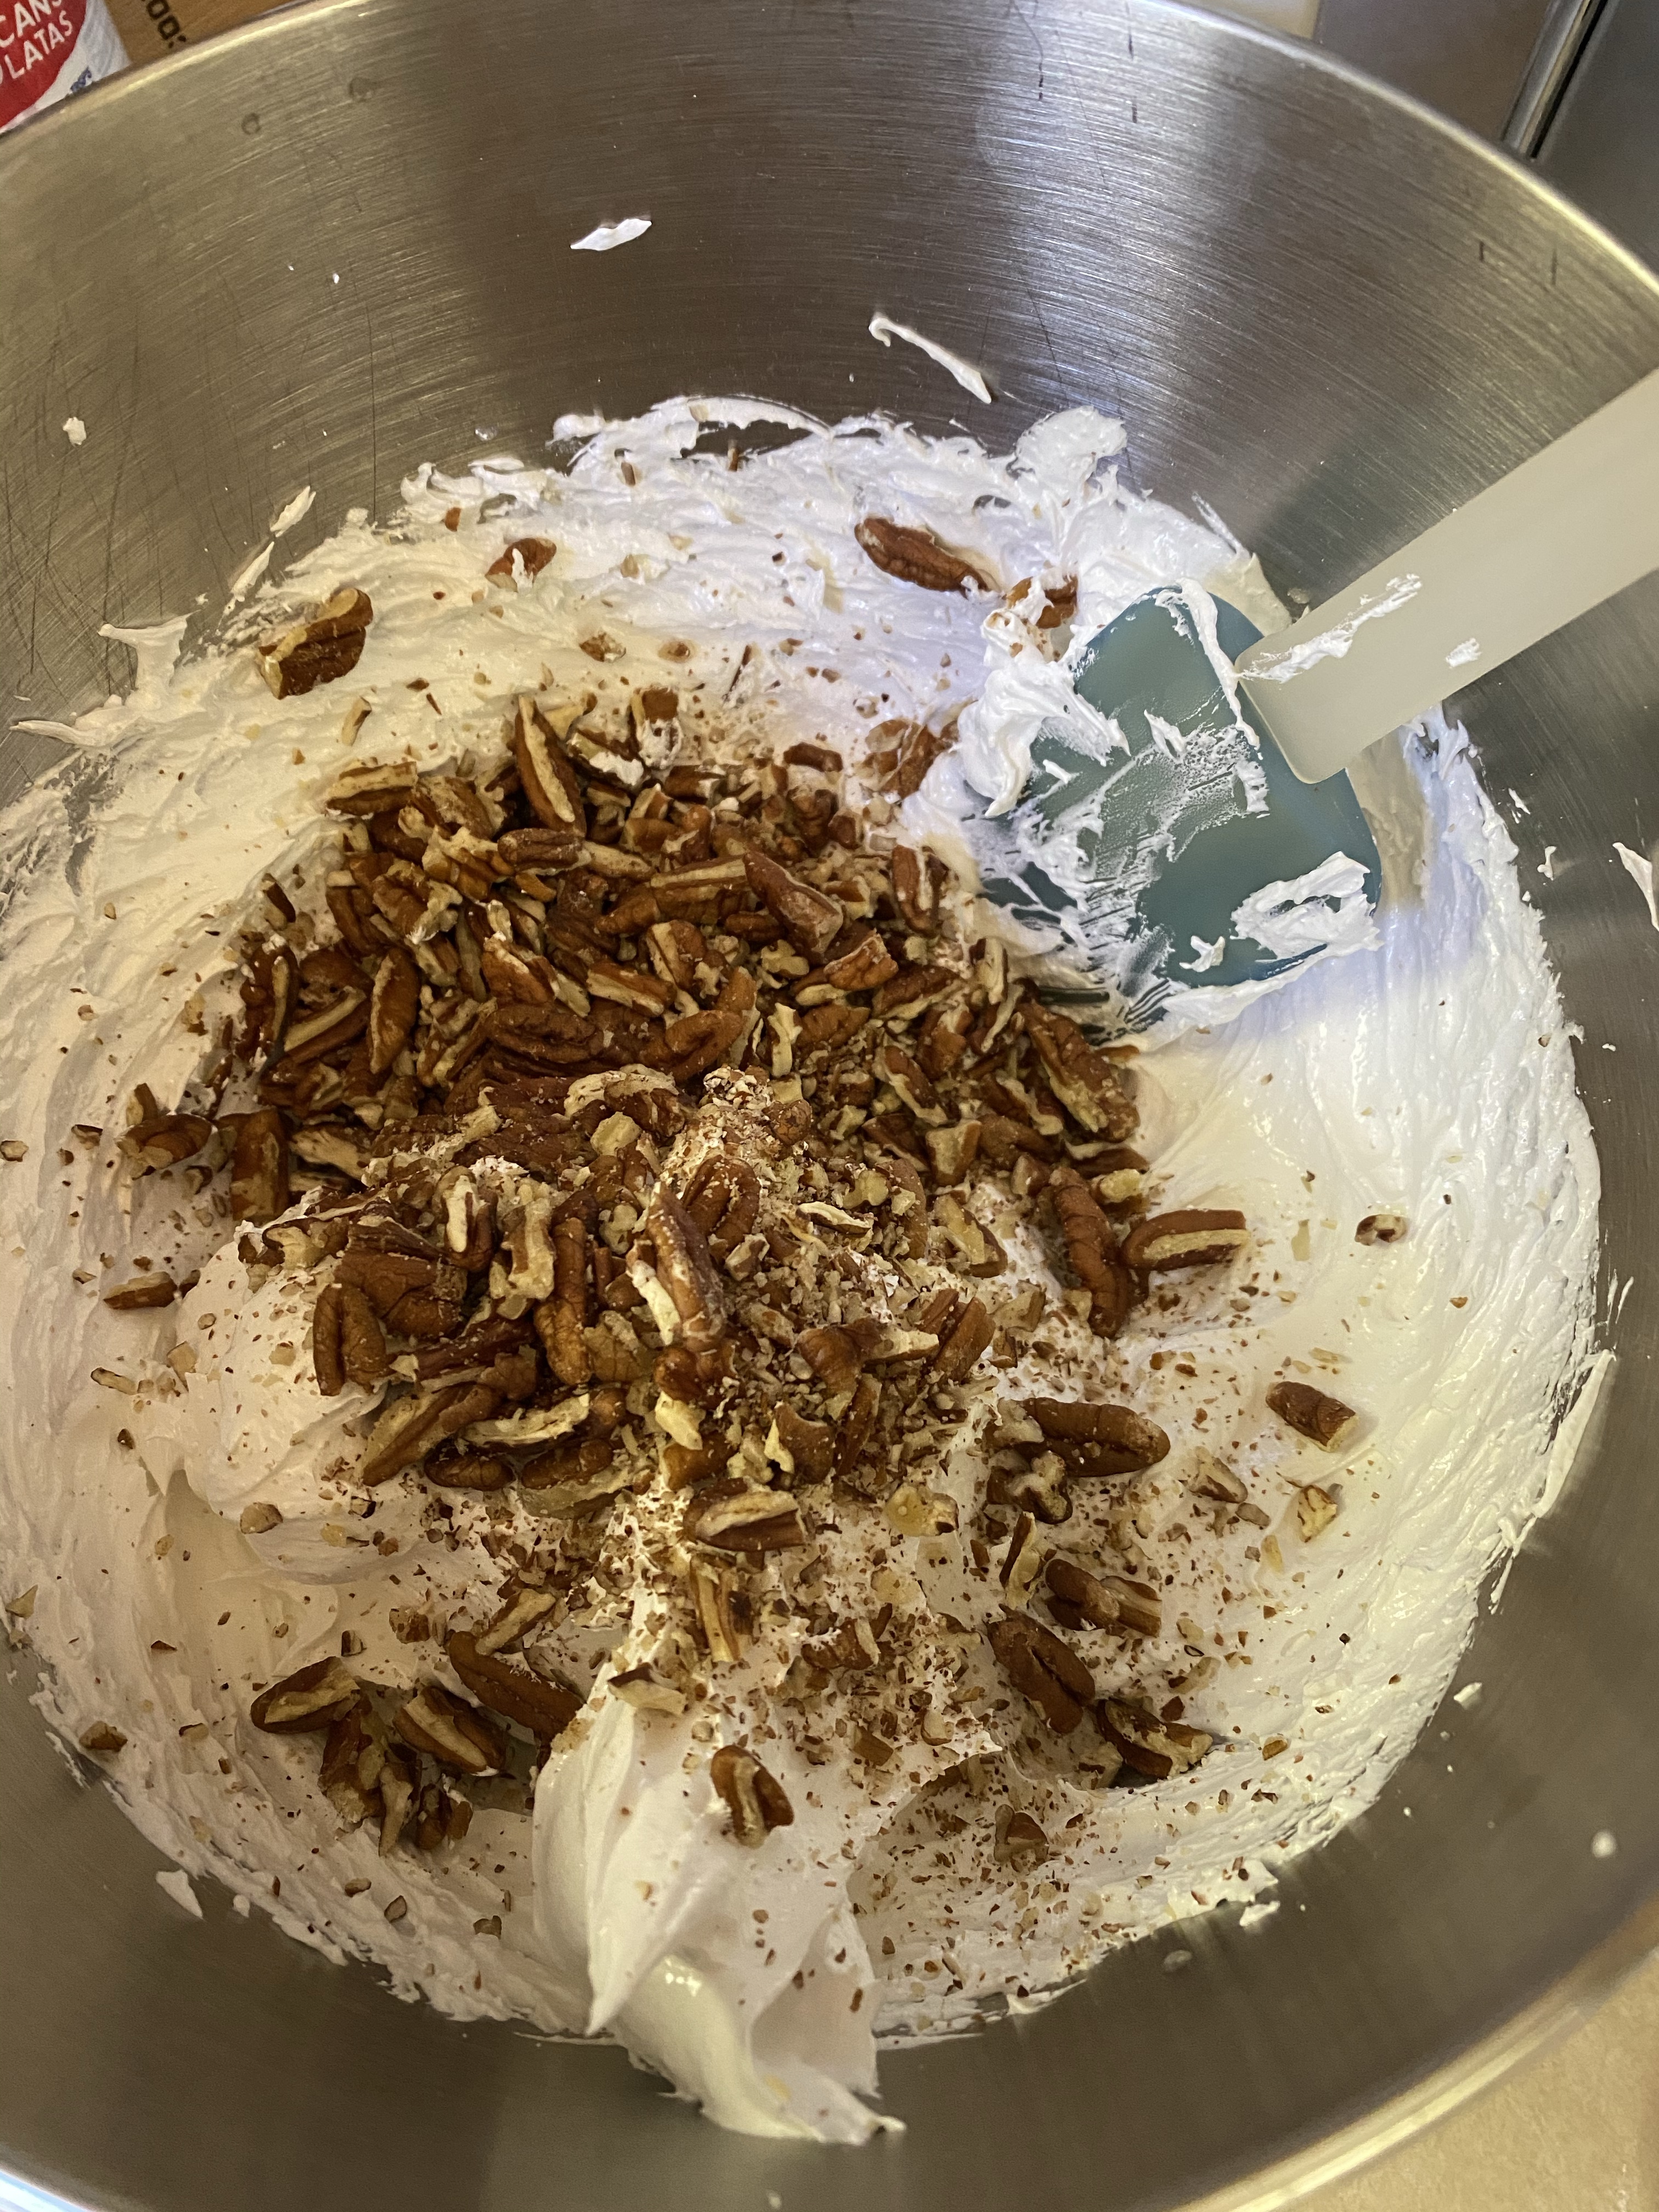
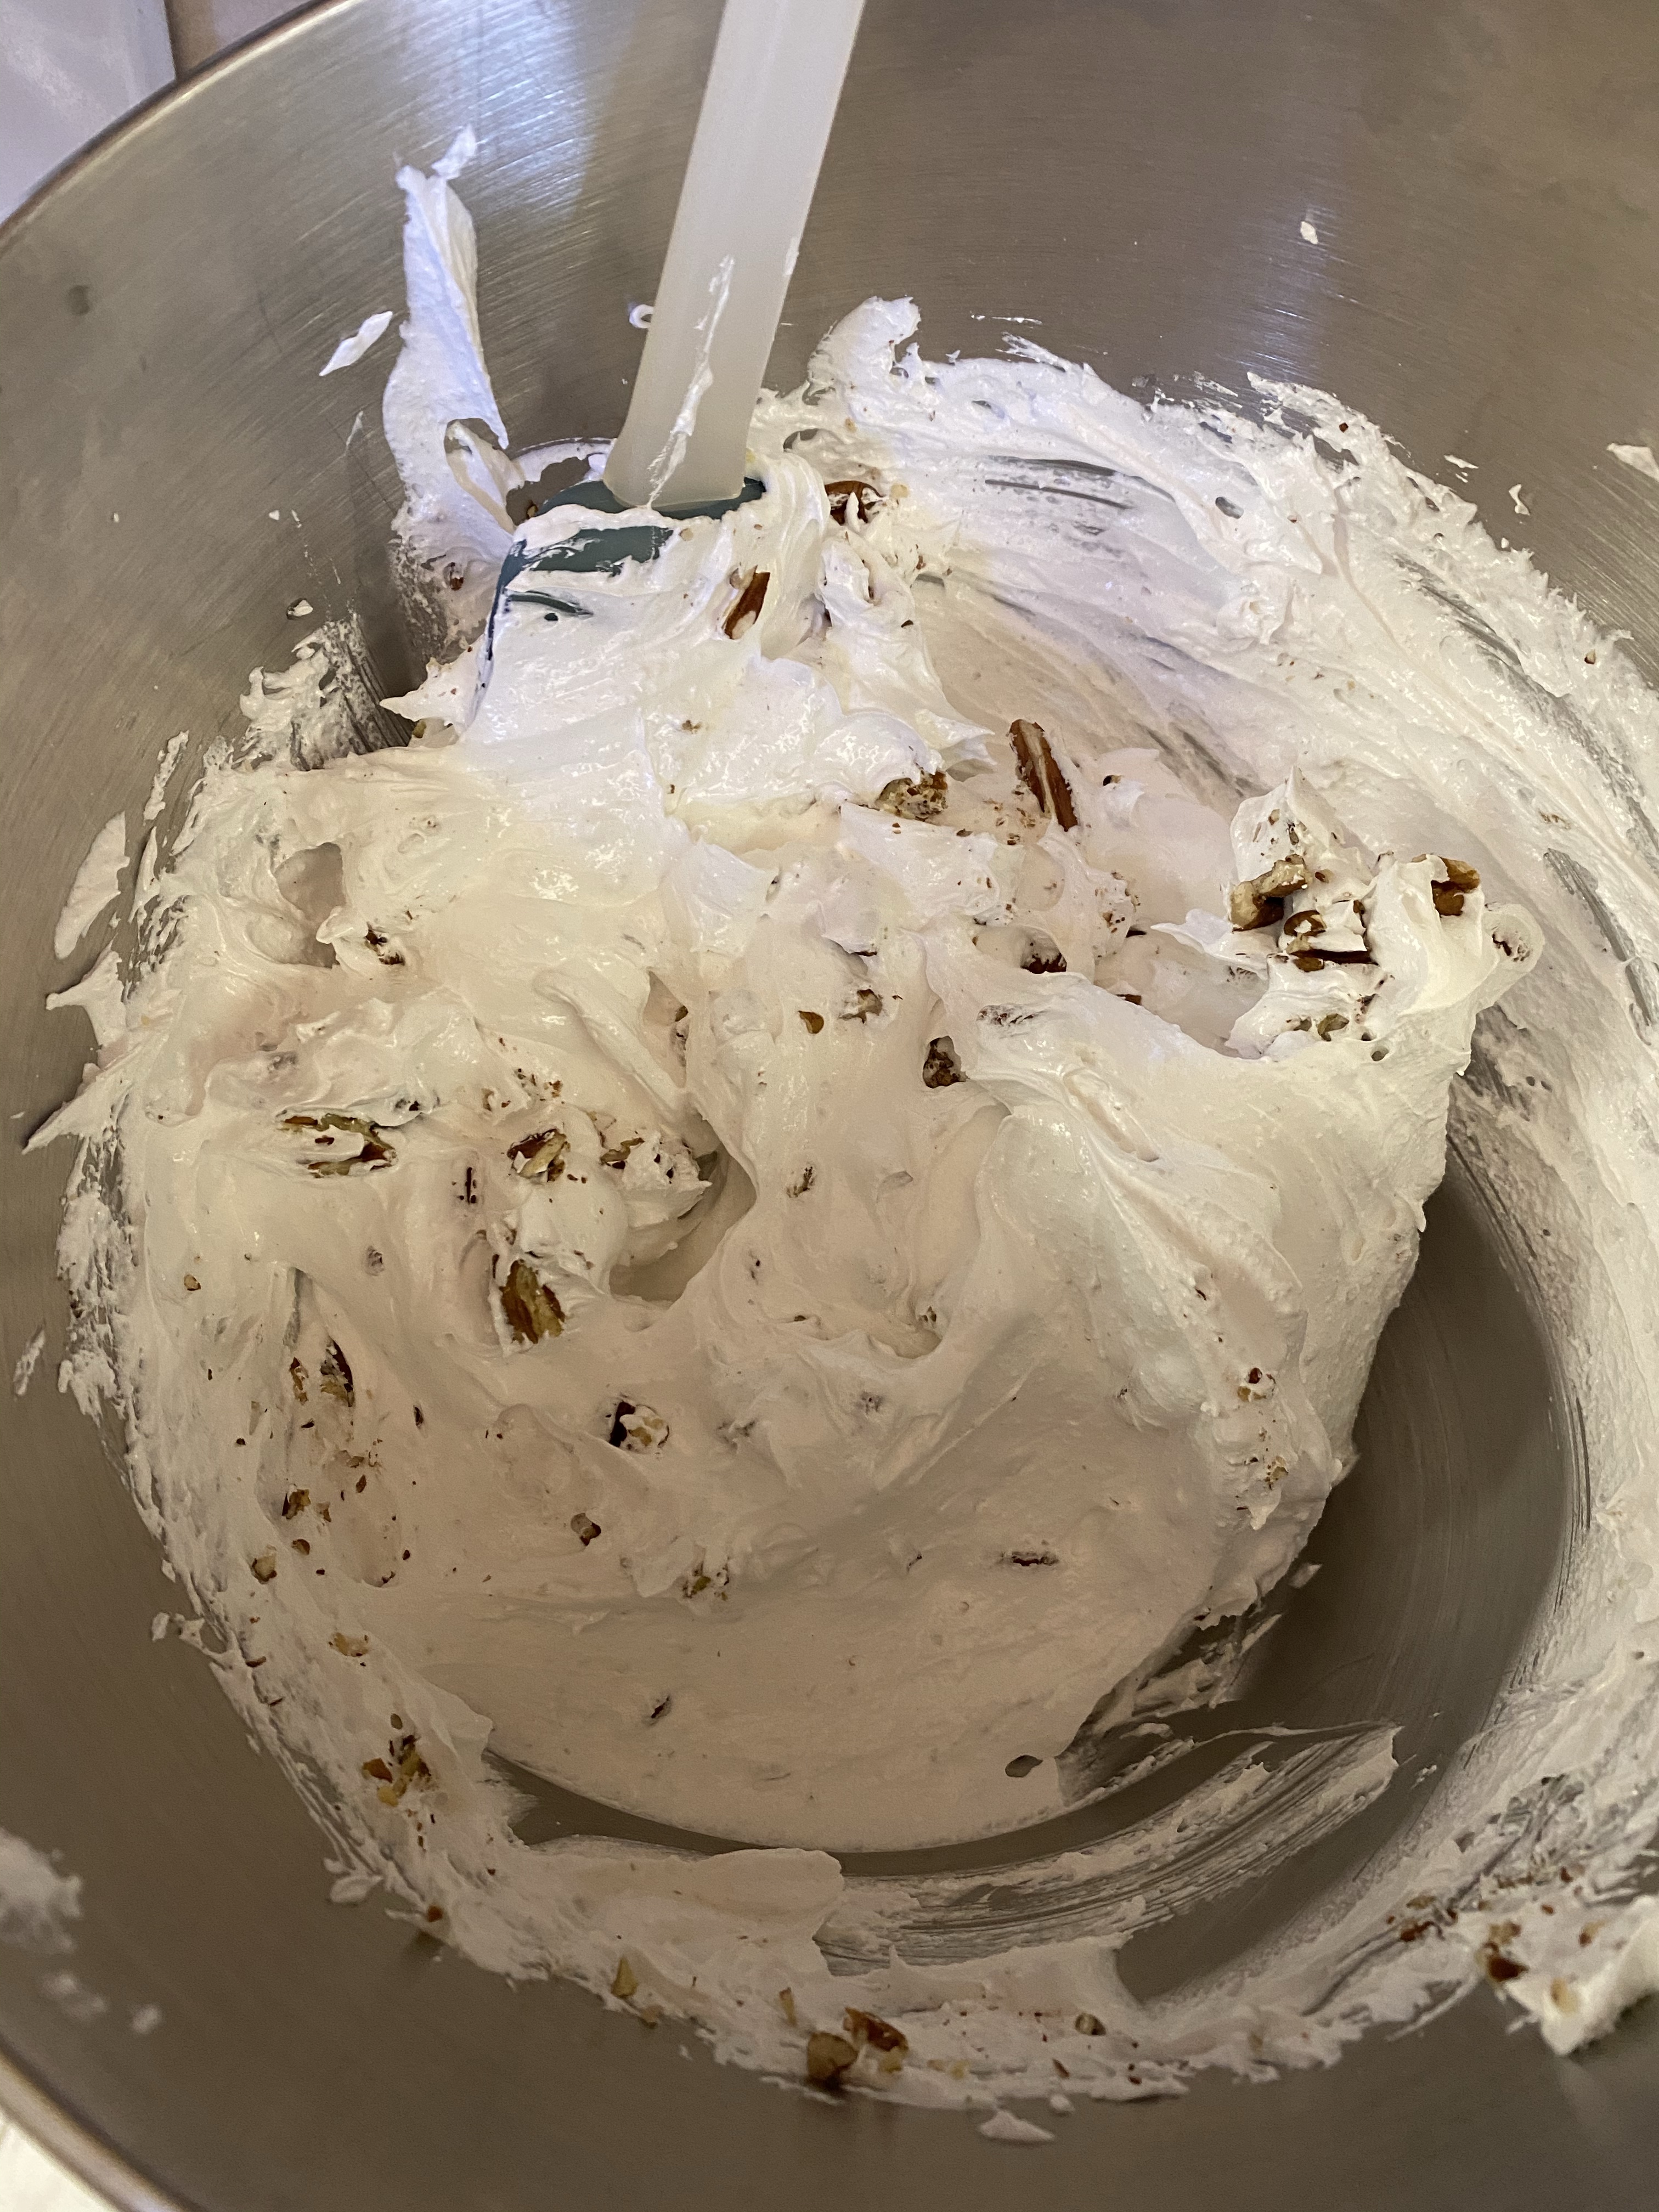
Step 9: Drop by teaspoons full onto a cookie sheet covered with parchment paper or foil.
- SAY: Each mound represents the rocky tomb where Jesus’ body was laid.
- READ: Matt. 27:57-60
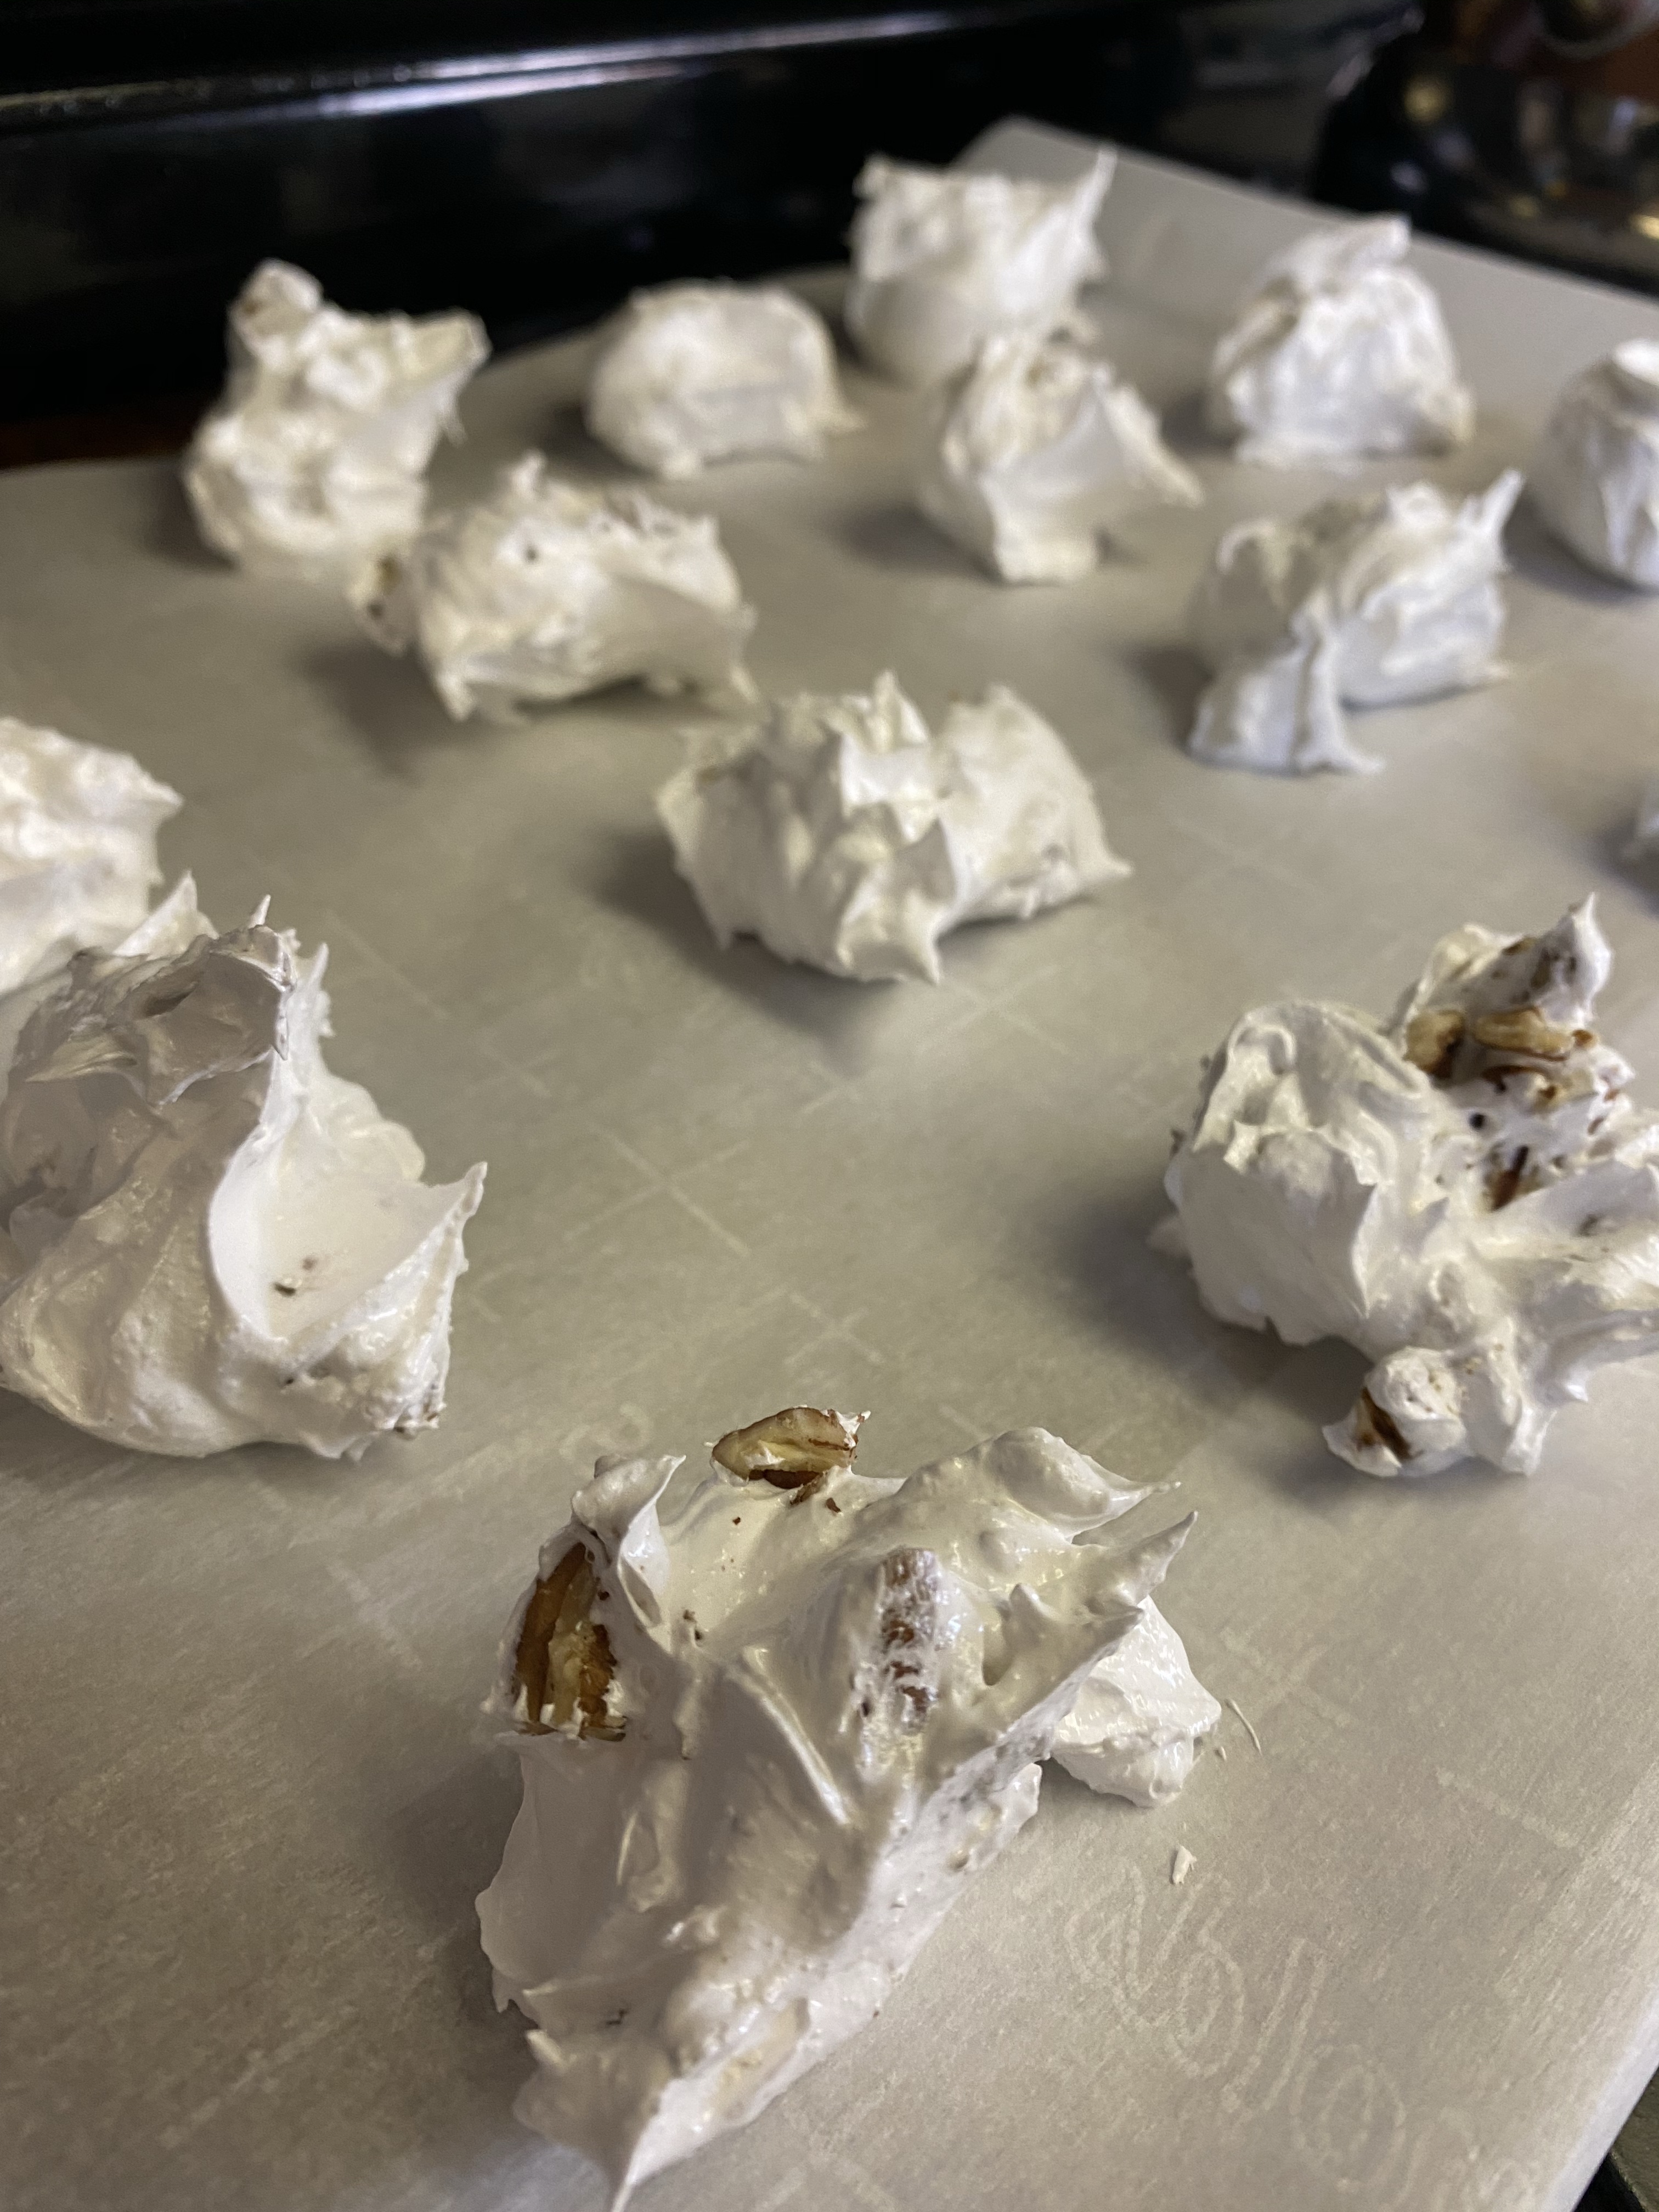
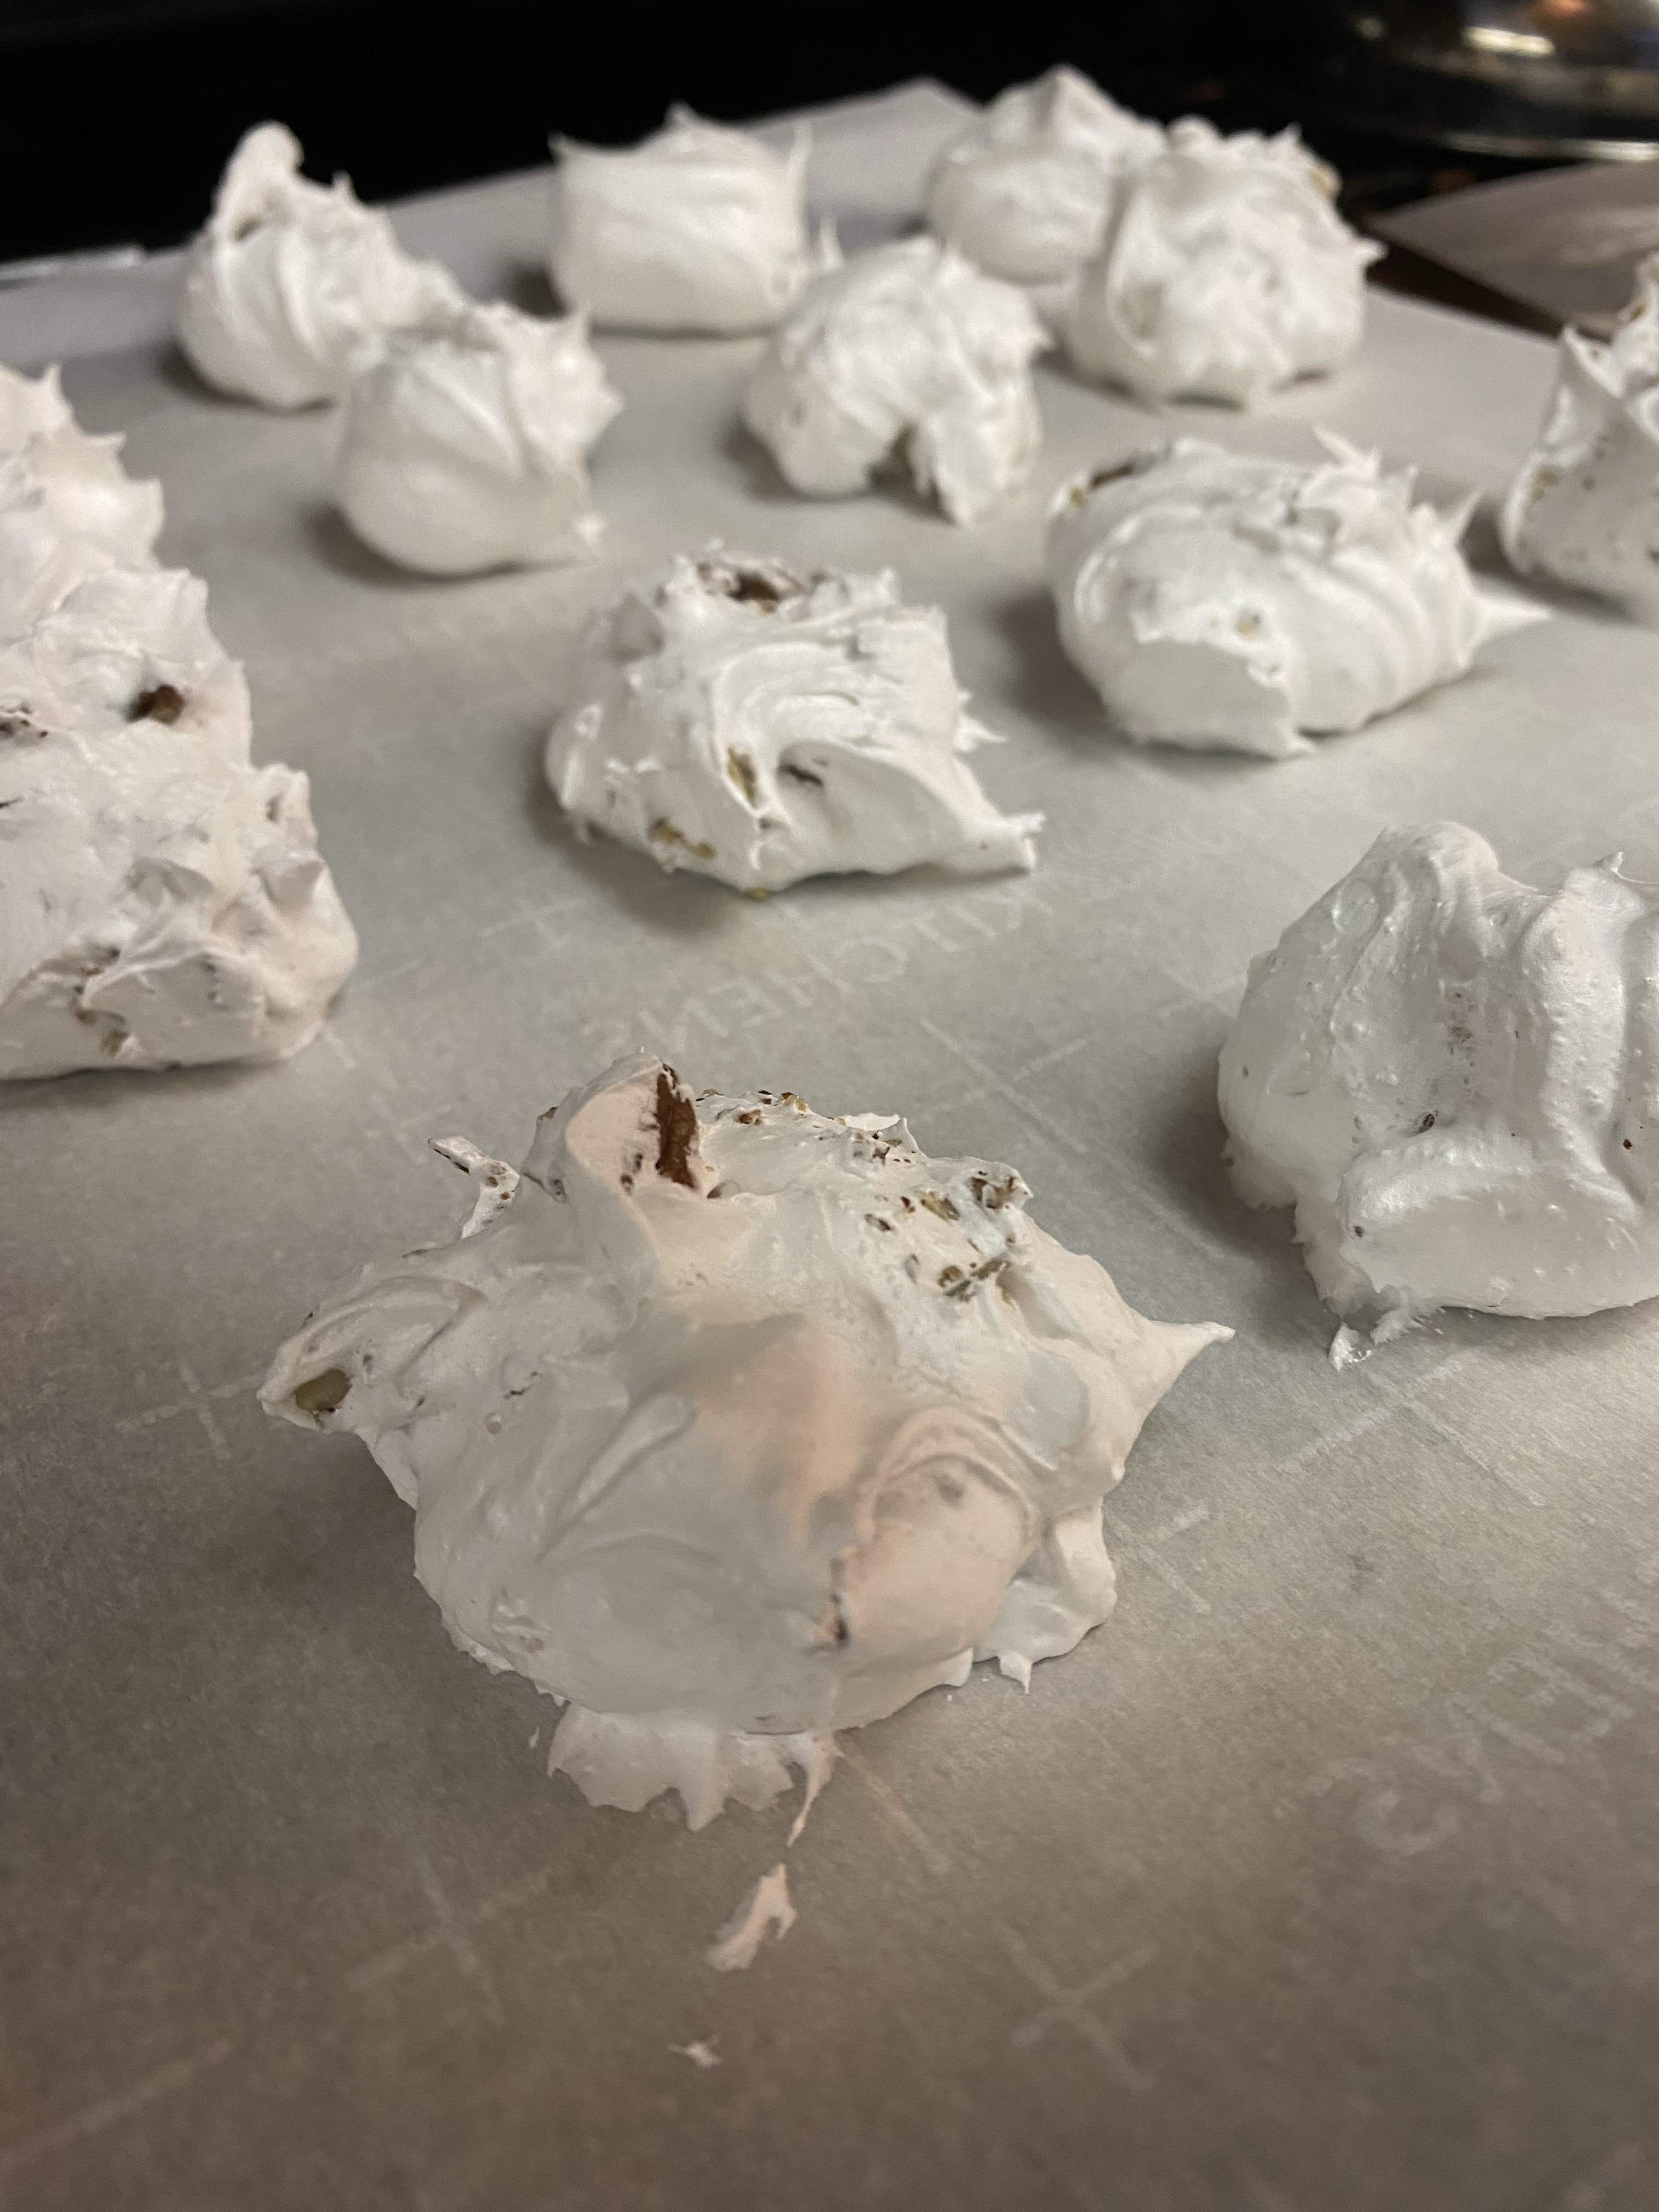
Step 10: Put the cookie sheet in the oven and close the door.
Step 11: Turn the oven OFF.
Step 12: Seal the oven door with tape.
- SAY: Jesus’ tomb was sealed with the stone.
- READ: Matt. 27:65-66
Step 13: Prepare for bed
- SAY: You may feel sad to leave the cookies in the oven overnight. Jesus’ followers were sad, too, when the tomb was sealed.
- READ: John 16:20, 22
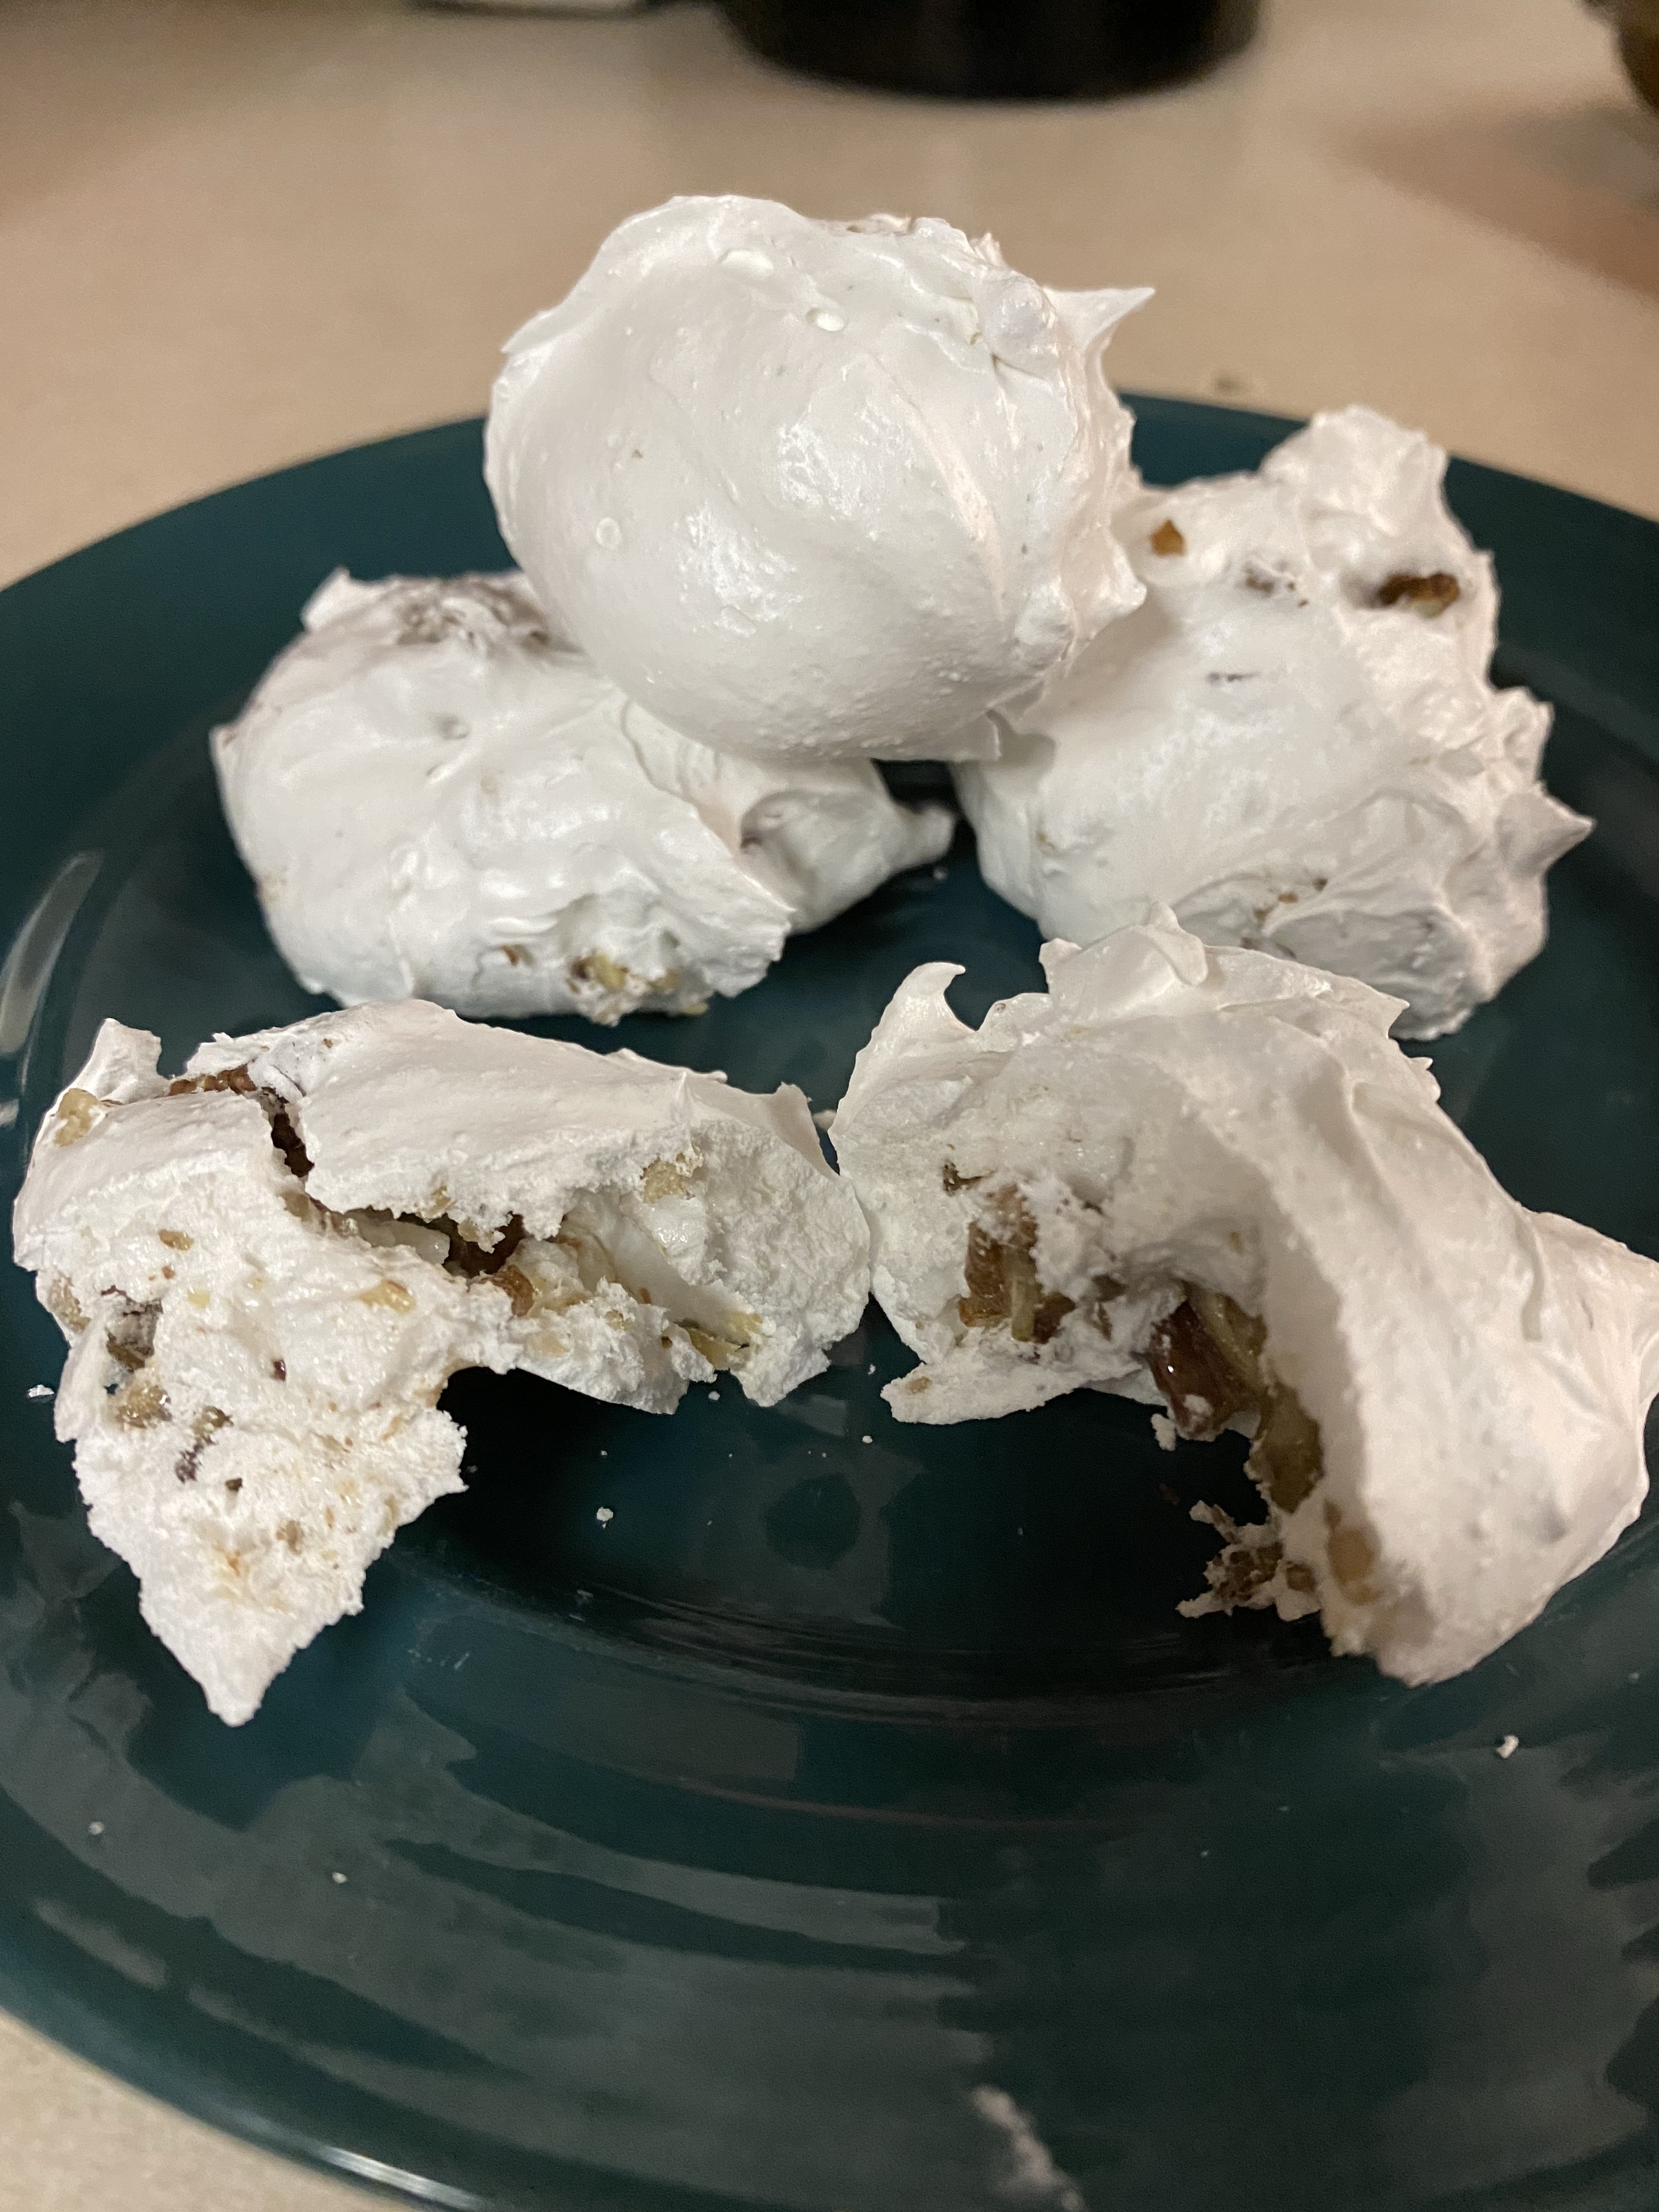
Step 14: Easter morning, open the oven and give everyone a cookie. Notice the cracked surface and take a bite. The cookies are hollow!
- SAY: Jesus’ followers were amazed to find the tomb open and empty, too!
- READ: Matt. 28:1-9 Praise God because Jesus has risen!
I hope you and your kids enjoy making these as much as we have! Click below for the printout.

Need more fun ideas to help you and your kids draw closer to Jesus? Enter your information below for 6 more!



0 Comments